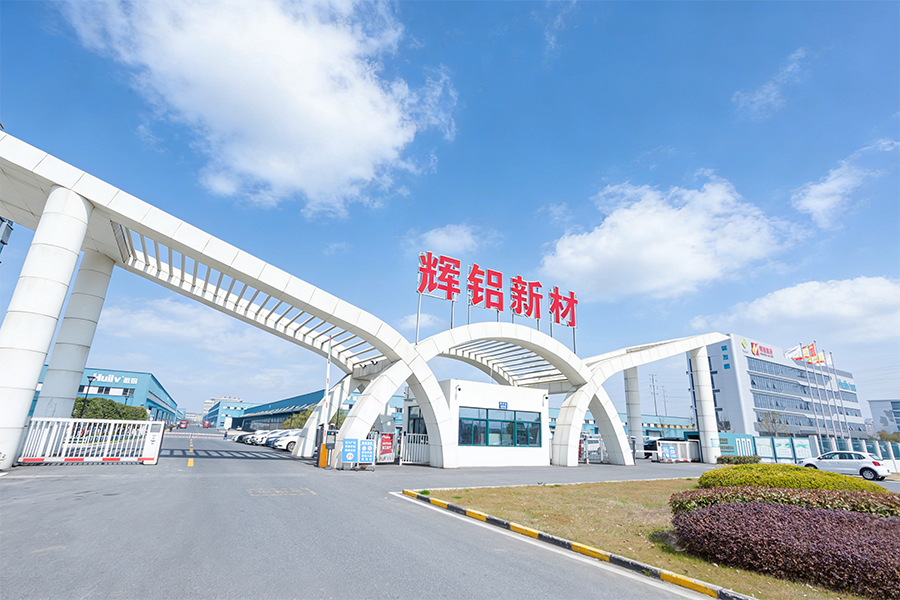
Industry Knowledge
How profile wall thickness changes real project performance
For buyers comparing aluminum doors profiles and aluminum windows profiles, wall thickness should be judged by load path rather than by a single catalog figure. The frame, sash, mullion, transom, glazing bead, and hardware fixing zone do not carry the same stress, so using the same thickness logic across all sections often leads to either unnecessary weight or weak screw-holding areas.
A more useful approach is to check three points together: corner strength, hardware anchoring stability, and visible deflection under wind load. In practice, buyers often focus on nominal thickness, but assembly quality improves more when thicker material is reserved for hinge zones, lock points, and spanning members.
Where additional material matters most
- Hinge and friction-stay fixing zones, where thread engagement directly affects long-term operation.
- Corner crimp or corner key chambers, where thin walls can reduce joint rigidity after cycling.
- Mullions and transoms with larger unsupported spans, where serviceability deflection becomes visible before structural failure.
- Thermal break profiles, where the aluminum shape on both sides still has to support hardware and glass loads effectively.
When we support specification reviews, we usually suggest asking for section drawings that mark critical screw ports and joint chambers rather than relying only on total profile weight per meter. That single step often prevents overbuying in low-stress areas and under-specifying the parts that actually fail first.
Tolerance checkpoints that affect assembly speed more than buyers expect
In door and window production, installation smoothness is strongly tied to profile dimensional consistency. Buyers usually notice tolerance issues only after corner mismatch, glazing bead looseness, or hardware misalignment appears on the assembly line. At that stage, the cost is no longer material cost alone; it becomes labor, scrap, and delayed packing.
Critical tolerances are often functional, not cosmetic. A profile can look acceptable on arrival and still create cascading problems when groove width, slot opening, or cavity geometry drifts outside the hardware system’s working range.
| Checkpoint |
What to verify |
Typical downstream issue if ignored |
| Groove width and depth |
Compatibility with rollers, locks, friction stays, and gaskets |
Loose hardware, difficult fitting, inconsistent sealing pressure |
| Straightness and twist |
Behavior over full profile length after cutting |
Corner opening, sash rubbing, visible frame distortion |
| Wall thickness consistency |
Uniformity in screw ports and joint chambers |
Weak fastening, corner instability, uneven machining |
| Cutting and end-face quality |
Burr level and perpendicularity before assembly |
Poor joint closure, seal gaps, rework at fabrication stage |
Key dimensional checks that directly affect fabrication efficiency and final fit.
We often see buyers improve yield simply by adding profile cross-section checks to incoming inspection, especially on hardware channels and gasket lands. It is a small control point, but it protects the entire assembly sequence.
What really separates standard systems from thermal break systems
The practical difference is not just whether a polyamide strip exists. The real question is how the thermal break system balances heat flow reduction with structural transfer across the profile. Buyers evaluating thermal break aluminum windows should look beyond Uf claims and review strip width, strip geometry, knurling engagement, and the location of reinforcement in high-load zones.
Points worth checking before approval
- Whether the thermal barrier width matches the project climate target instead of serving only as a marketing figure.
- Whether corner construction and hardware anchoring remain stable after separating inner and outer aluminum shells.
- Whether gasket paths, glazing pocket depth, and drainage channels still function after the section becomes more complex.
- Whether the system has enough fabrication tolerance to avoid misalignment between the inner and outer visible faces.
A thermal break section performs well only when thermal design and fabrication logic are aligned. A profile with a strong thermal specification can still become troublesome if the crimping, corner joining, or glazing sequence is too sensitive for mass production.
When we discuss energy-efficiency options with buyers, we usually recommend comparing standard and thermal break sections side by side with the intended glass package and hardware set. That comparison is more useful than reviewing section drawings in isolation.
For exterior systems, finish selection should be made according to service conditions, fabrication method, touch-up expectations, and appearance retention strategy. Buyers often reduce the decision to color preference, but the better comparison is how each finish behaves at cut edges, corners, visible sightlines, and maintenance cycles.
| Selection factor |
Powder coated aluminum windows |
Anodized aluminum window profiles |
| Color flexibility |
Wide color range and easier visual matching across project styles |
More limited decorative range, especially for non-metallic looks |
| Surface feel and metallic depth |
Film-based appearance with strong design versatility |
Integral metallic appearance often preferred for clean architectural finishes |
| Edge and scratch behavior |
Damage can expose contrast between coating and substrate |
Surface is part of the metal, often showing wear differently |
| Best use case logic |
Projects prioritizing color consistency, branding, or decorative flexibility |
Projects prioritizing metallic character and a more technical finish expression |
A practical comparison of finish choices for exterior aluminum door and window systems.
The better finish is the one that fits the project’s exposure, appearance target, and post-fabrication handling risk. For coastal or high-pollution areas, finish choice should also be checked alongside pretreatment quality, sealing details, and maintenance access rather than as a standalone specification.
We prefer to discuss finish options in terms of lifecycle appearance and fabrication handling, because that is where buyers see the real difference after installation.
Drainage and pressure equalization details that often decide field performance
Water management in aluminum window and door systems is less about adding more sealant and more about creating a controlled route for water to enter, slow down, equalize pressure, and exit. Many leakage complaints start when profiles look robust but do not provide enough separation between glazing rebates, hardware zones, and drain channels.
Useful review points for buyers and fabricators
- Check whether drainage paths remain open after inserting corner cleats, screws, or reinforcement.
- Confirm that weep hole positions do not conflict with cover caps, insect mesh, or façade interfaces.
- Review whether gasket compression is balanced; over-compression can distort drainage behavior as much as under-compression.
- Look at the profile chamber logic together with expected wind pressure, because some sections drain well in mild conditions but become vulnerable under pressure differentials.
A dry-looking section drawing is not proof of good water management. Buyers should ask for fabrication-stage drainage details and not just extruded cross-sections, since machining and assembly can change how water actually behaves.